![]()
Setting a basic wireguard VPN server. See how to configure the server, desktop, and mobile peers.
Server Install
Instructions are for a fresh Ubuntu 20.04, but should work for most debian based distros.
First update and upgrade your current server.
sudo apt-get update && apt-get upgrade -y
Enable IP forwarding by uncommenting net.ipv4.ip_forward=1 in sysctl.conf.
sudo vim /etc/sysctl.conf
sudo sysctl -p or reboot to load the changes
Setup firewall some kind of firewall, I typically use UFW. I will allow ssh, port 22, and 51820, for wireguard.
sudo ufw allow ssh
sudo ufw allow 51820/udp
sudo ufw enable
Finally we can install wireguard. Note some older distros will use dkms if they have a kernel without wireguard built in (Linux 5.6 or lower). DKMS usally works great but can occasionally fail to load after an update or reboot. I tend to avoid it because of experiences with zfs’s dkms modules20.04 doesn’t need dkms but uses a 5.4 kernel with wireguard compiled in.
sudo apt-get install wireguard
Change to the new wireguard directory and generate a public and private key.
cd /etc/wireguard
sudo umask 077; wg genkey | tee privatekey | wg pubkey > publickey
cat privatekey && cat publickey to get the generated keys. We will need to put this into the wireguard config file. Copy and paste the info below into the config. Put your private key and change the CIDR if you want. The PostUP and PostDown are for NAT forwarding if you want to route all your traffic through wireguard. Change eth0 to your server’s public ip network interface if it is something different. Use ip a or ifconfig if you are not sure what your interfaces are.
sudo vim /etc/wireguard/wg0.conf
[Interface]
PrivateKey = <Server Private Key>
Address = 192.168.100.1/24
ListenPort = 51820
PostUp = iptables -A FORWARD -i wg0 -j ACCEPT; iptables -t nat -A POSTROUTING -o eth0 -j MASQUERADE
PostDown = iptables -D FORWARD -i wg0 -j ACCEPT; iptables -t nat -D POSTROUTING -o eth0 -j MASQUERADE
Test the config with
sudo wg-quick up wg0
sudo wg-quick down
Enable the systemd service and start wireguard
sudo systemctl enable wg-quick@wg0
sudo systemctl start wg-quick@wg0
You can also get information about the running wireguard service by using the wg command.
nathan@davis-wiregurard:/etc/wireguard# sudo wg
interface: wg0
  public key: [...]
  private key: (hidden)
  listening port: 51820

peer: [peer public key]
  endpoint: [Public IP]:9846
  allowed ips: 192.168.100.4/32
  latest handshake: 47 seconds ago
  transfer: 61.95 KiB received, 204.93 KiB sent
  persistent keepalive: every 25 seconds

peer: [peer public key]
  endpoint: [Public IP]:56853
  allowed ips: 192.168.100.7/32
  latest handshake: 1 minute, 14 seconds ago
  transfer: 410.17 KiB received, 140.44 KiB sent
  persistent keepalive: every 25 seconds

  ...
Clients Install
Wireguard is currently only stable for Linux, but is available for iOS, Android, Windows, MacOS, and more. Go to the wireguard install page and follow the instructions to download the client for your os. Below are instructions for a second ubuntu 20.04 client. If your client is something else the conf will be the same, but the other steps will differ.
sudo apt-get update && apt-get upgrade -y
Install wireguard
sudo apt-get install wireguard
Generate your public and private keys.
sudo cd /etc/wireguard
sudo umask 077; wg genkey | tee privatekey | wg pubkey > publickey
cat privatekey and cat publickey to get the generated keys, we will need them for the wireguard configs. Open the client wireguard config.
sudo vim /etc/wireguard/wg0.conf
[Interface]
PrivateKey = <Client Private Key>
Address = 192.168.100.2/32

[Peer]
PublicKey = <Server Public Key>
AllowedIPs = 192.168.100.1/24
Endpoint = PublicIP:51820
Note I have configured AllowedIPs to only tunnel IPv4s on the 192.168.100.1/24 subnet. If you want to tunnel all of your traffic on the client through wireguard use 0.0.0.0/0, ::/0.
Now connect to your server again and add your client information under the [Peer] section.
[Interface]
[...]

[Peer]
PublicKey = <Client Public Key>
AllowedIPs = 192.168.100.2/32
PersistentKeepalive = 25
The PersistentKeepalive = 25 is for clients behind a firewall/NAT (most workstations and mobile phones). If your client has a static public IP, use the Endpoint parameter with the clients public IP.
Test the client config with
sudo wg-quick up wg0
sudo wg-quick down
Enable the systemd service and start wireguard on the client.
sudo systemctl enable wg-quick@wg0
sudo systemctl start wg-quick@wg0
You may want to begin adding additional clients to your wireguard vpn. Just add another peer section for each client in the server config. The Client config will only ever need to contain the public gateway server as a peer.
Mobile devices
Adding mobile devices can be a pain because it can be a hassle to securely exchange the wireguard public and private keys. I would recommend using qrencode to make a scannable qr code that can be imported on the iOS and android wireguard clients. On debian systems you can install the app with sudo apt install qrencode
Generate your mobile devices keys on your server. Note I am naming them mobile-, but the name can be anything you like.
cd /etc/wireguard
wg genkey | tee mobile-privatekey | wg pubkey > mobile-publickey
Make the mobile config file
cd /etc/wireguard
sudo vim mobile.conf

[Interface]
PrivateKey = <contents of mobile-privatekey>
Address = 192.168.100.x/32 #replace with your desired IPv4 address

[Peer]
PublicKey = <contents of server-publickey>
Endpoint = <server-ip>:51820
AllowedIPs = 192.168.100.0/24
Generate the QR code
qrencode -t ansiutf8 < /etc/wireguard/mobile.conf
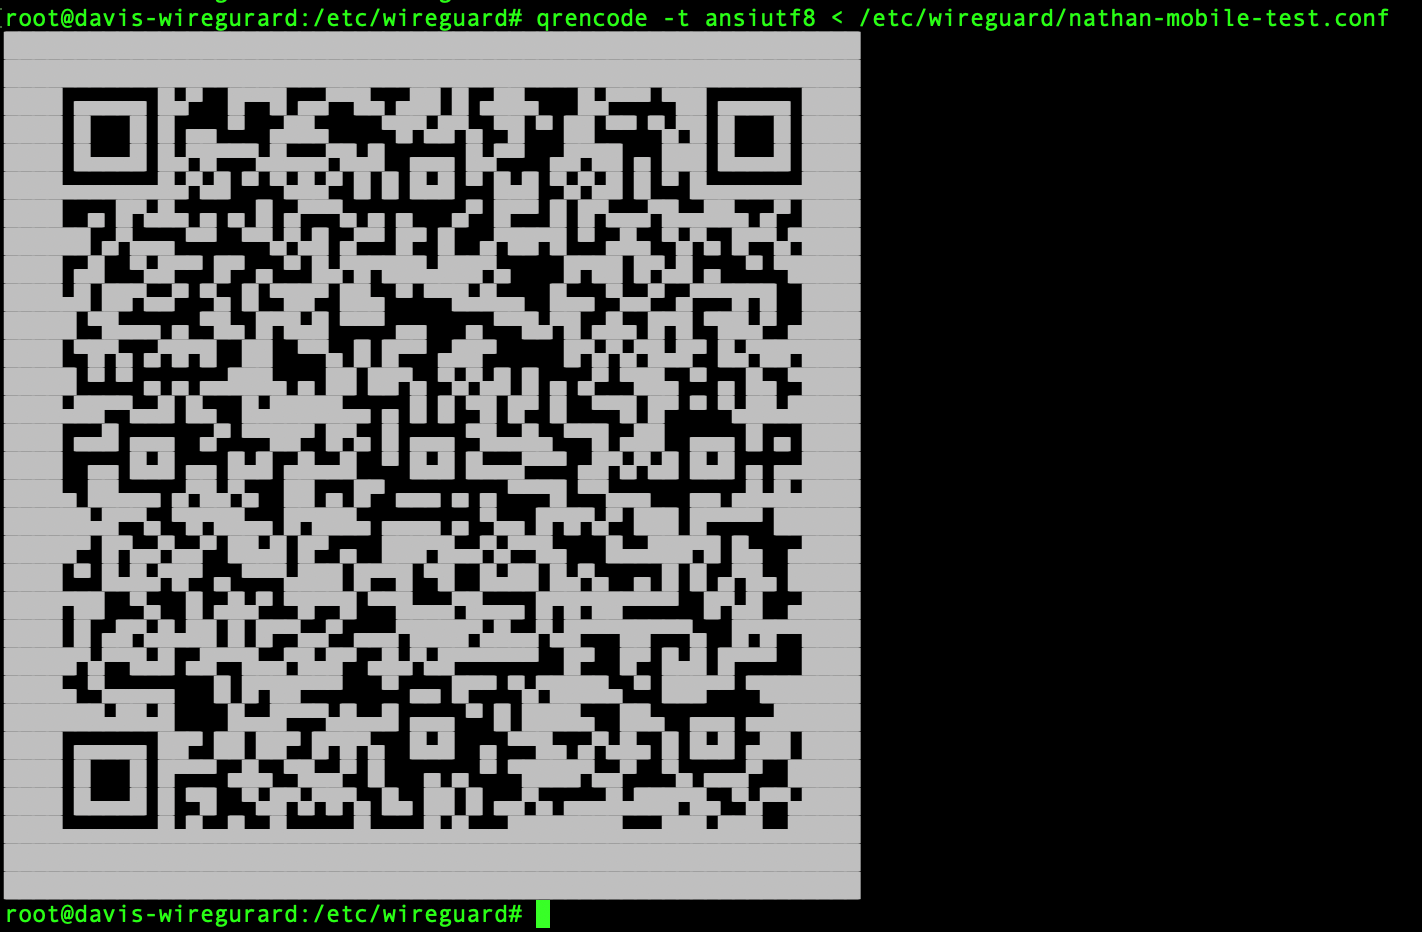
Simply open the mobile wireguard app, hit the + button, and click scan from QR code.
Extras
For additional help I would recommend checking out the Arch Wiki. Even if you don’t use arch linux, it is a valuable resource.
Also starting in Android 12 Wireguard may be native to the 4.19 and 5.4 kernel.