Combining a Pi-hole DNS adblocker with a wireguard vpn to get ad blocking on any device!
Intro
Instructions are for Ubuntu 20.04, but should be similar for other debian distros. I also assume you already have a working wireguard vpn, if not see my other blog article. You can install Pi-hole “on bare metal” or in a container or vm. I typically choose to install all of my applications as containers for a few reasons.
- Reproducable
- A container has its own dependacy tree that can’t conflict with any other programs, so updating your sever is unliky to affect the applications you are running.
- less time debuging how your enviroment is different from the projects example
- Portable
- You can mount docker data volumes you any where on your host. These volumes should contain all of the statefull information, data, and configuration files that make your app unique to your enviroment. This allows you to easilly move these folders to another machine and pick up where you left off. You could do this with most apps, but you would have to hunt down where the different files are on your local system. They are rarely stored in one place.
- Easy to uninstall
- I try out a lot of apps, and I don’t end up using a lot of them for very long. So instead of them cluttering up my server or even host system with files flung all over the file system, I can just delete the container and delete the data volumes and volla, the app is gone!
For these reasons I am going to install Pi-hole as a docker container. If you want to install it natively you can see the projects excellent documentation.
Installing Docker
So the first step is to install docker if it isn’t otherwise. The instructions below are from the offical docker website. You can find instructions for your specific distro there or follow along below for ubuntu. Alternative container run times like Podman exist, but I prefer docker because it is what I am familar with.
-
First update and upgrade your current server. Then install a few docker dependancies. ```shell sudo apt-get update && apt-get upgrade -y
sudo apt-get install \ apt-transport-https \ ca-certificates \ curl \ gnupg \ lsb-release ``` - Install dockers GPG key, saying that you trust software that is signed with that key. To understand more about why you need to install keys for repositories see Secure Apt
shell curl -fsSL https://download.docker.com/linux/ubuntu/gpg | sudo gpg --dearmor -o /usr/share/keyrings/docker-archive-keyring.gpg - Install the docker stable repository. See that we reference the key we just downloaded.
shell echo \ "deb [arch=amd64 signed-by=/usr/share/keyrings/docker-archive-keyring.gpg] https://download.docker.com/linux/ubuntu \ $(lsb_release -cs) stable" | sudo tee /etc/apt/sources.list.d/docker.list > /dev/null -
Install docker ```shell sudo apt-get update
sudo apt-get install docker-ce docker-ce-cli containerd.io ``` - Verify Docker is working by running the hello-world container and checking the docker version
shell sudo docker -v sudo docker run hello-world - Unless your user is already in the sudo group, I would NOT recommend adding them to the docker group. Adding users to the docker group basically gives them root level permissions.
shell sudo groupadd docker sudo usermod -aG docker $USER - Install Docker Compose. I will be using a docker compose file to configure the Pi-hole container, technically this is optionally but I would recommend it for ease of use in recrating the Pi-hole container. Note that the below commands install version 1.29.0 of Docker compose. Docker compose updates frequently so please check the Docker Compose release notes for the latest version.
shell
     sudo curl -L "https://github.com/docker/compose/releases/download/1.29.0/docker-compose-$(uname -s)-$(uname -m)" -o /usr/local/bin/docker-compose
     sudo chmod +x /usr/local/bin/docker-compose
Congrats docker is now installed. Depending on your distro you may have some optional post install steps to complete. For ubuntu and my purposes the default 20.04 package config is fine.
Disable DNS Stub resolver
Ubuntu 18.04 and 20.04 come out of the box with systemd-resolved comfigured with a DNS stub resolver. In the default state this will prevent you docker container binding to port 53. To fix this we need to disable it.
sudo sed -r -i.orig 's/#?DNSStubListener=yes/DNSStubListener=no/g' /etc/systemd/resolved.conf
sudo sh -c 'rm /etc/resolv.conf && ln -s /run/systemd/resolve/resolv.conf /etc/resolv.conf'
sudo systemctl restart systemd-resolved
See Pi-Hole’s documentation for more detailed steps and explainations.
Configure Firewall
If you plan on having Pi-hole on an internet accessable server, configuring your firewall will be usefull. I use tend to use UFW, but the Pi-hole project provides documentation on how to make plain iptable rules.
-
Display your current settings
```shell sudo ufw status Status: active To Action From -- ------ ---- 22/tcp ALLOW Anywhere 51820/udp ALLOW Anywhere 19999 ALLOW 192.168.100.0/24 22/tcp (v6) ALLOW Anywhere (v6) 51820/udp (v6) ALLOW Anywhere (v6) ``` -
Add rules to allow access to Pi-hole from your wireguard subnet. Note you need to change
192.168.100.0/24to your wireguard subnet.```shell sudo ufw allow from 192.168.100.0/24 to any port 80 sudo ufw allow from 192.168.100.0/24 to any port 53 sudo ufw reject https #Port 443 is to provide a sinkhole for ads that use SSL ``` -
Restrict Access to Docker Network Since I will be installing pihole using docker on a public host, I need to restrict access to the netwrok interface docker automatically creates. Without doing this by default docker creates an iptable rule opening the port of for any port forwarded to a container. In my case this would open port 53 and 80 to the internet. Opening port 53 would be particuarlly bad because you could become part of a DDoS botnet. Docker is making iptable rules that will bypass/override anything configured in UFW. It is not possible to overirde these rules in UFW, so instead I have to make an iptable rule and add it to the docker-user iptable chain.
 Creating the following [IPtable rule](https://docs.docker.com/network/iptables/) will fix this issue by rejecting all connections to the docker interface not originating from the the wireguard 192.168.100.0/24 subnet.

 ```shell
 iptables -I DOCKER-USER -i ext_if ! -s 192.168.100.0/24 -j DROP
 ```
Install Pi-hole
Now that docker is installed we need to decide how we configure our Pi-hole install. The project provides an excellent docker-compose template, it is listed below.
version: "3"

# More info at https://github.com/pi-hole/docker-pi-hole/ and https://docs.pi-hole.net/
services:
  pihole:
    container_name: pihole
    image: pihole/pihole:latest
    ports:
      - "53:53/tcp"
      - "53:53/udp"
      - "67:67/udp"
      - "80:80/tcp"
    environment:
      TZ: 'America/Chicago'
      PIHOLE_DNS_: 127.0.0.1;8.8.8.8;1.1.1.1
      WEBPASSWORD: 'MAKE A GOOD PASSWORD'
    # Volumes store your data between container upgrades
    volumes:
      - './etc-pihole/:/etc/pihole/'
      - './etc-dnsmasq.d/:/etc/dnsmasq.d/'
    restart: unless-stopped
There are many additonal enviroment varibles and options available. See the projects documentation if you want to try them.
Save the the above config to a file called docker-compose.yml somewhere on your system. A suggestion would be ~/pihole/. CD to that directory and then run docker-compose up -d. That will download the latest Pi-hole container and start it with the customizations we have made. If you get an error check for typos and refer to the Pi-hole github doc.
Modify Client Wireguard configs
Congrats Pi-hole is installed, but now you need to tell your wireguard clients to use it. Fortunelty that is pretty simple, just modify the client on all of your clients to include DNS = WireguardServer IP. See an example below
[Interface]
PrivateKey = xxxxxxxxxxxxxxxxxxxxxxxxxxxxxxxxxxxxx
Address = 192.168.100.9/32

[Peer]
PublicKey = xxxxxxxxxxxxxxxxxxxxxxxxxxxxxxxxxxxxxx
Endpoint = PublicIP:51820
AllowedIPs = 192.168.100.0/24
DNS = 192.168.100.1
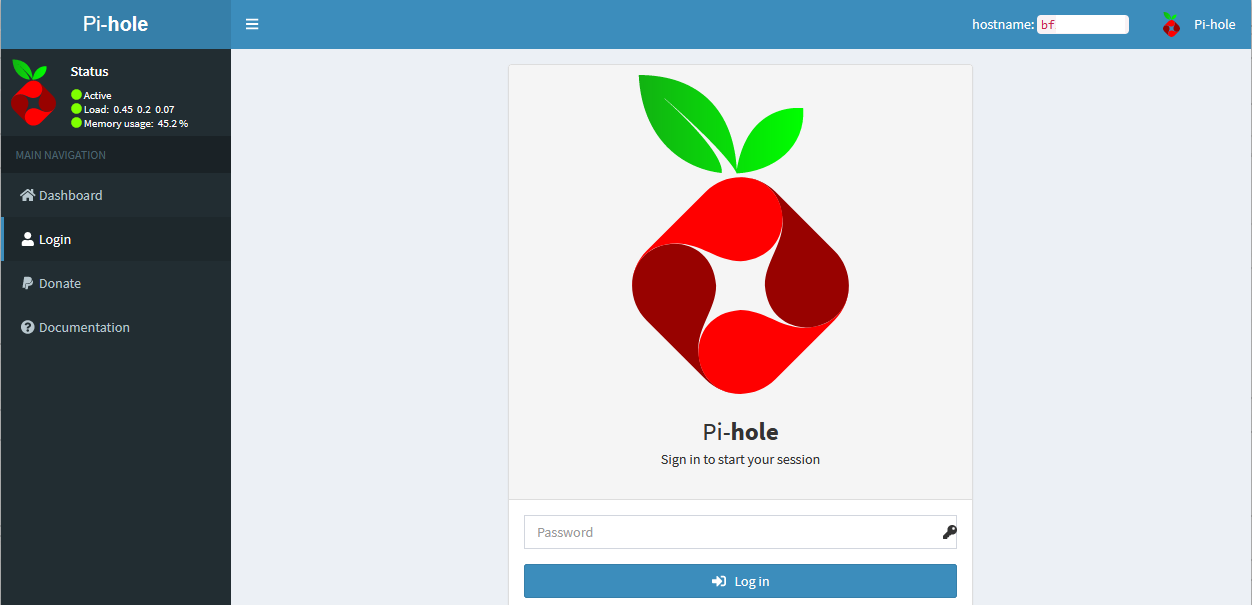
Simply do that for all clients you want to block adds on. Then you can log in to Pi-hole at http://PI-holeIP/admin, mine is at http://192.168.100.1/admin.
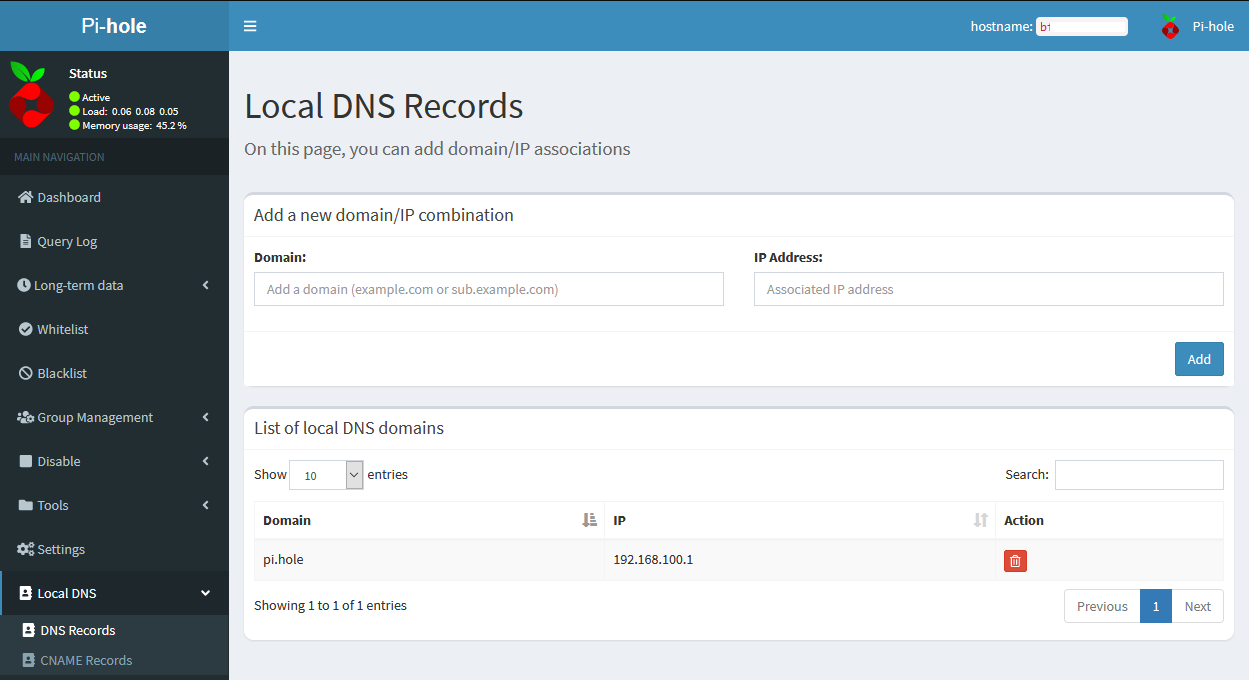
Once logged in you can begin to see the blocking in action. There are many extras you can do at this point to configure Pi-hole, one I like is to add a local DNS name for the Pi-hole server.